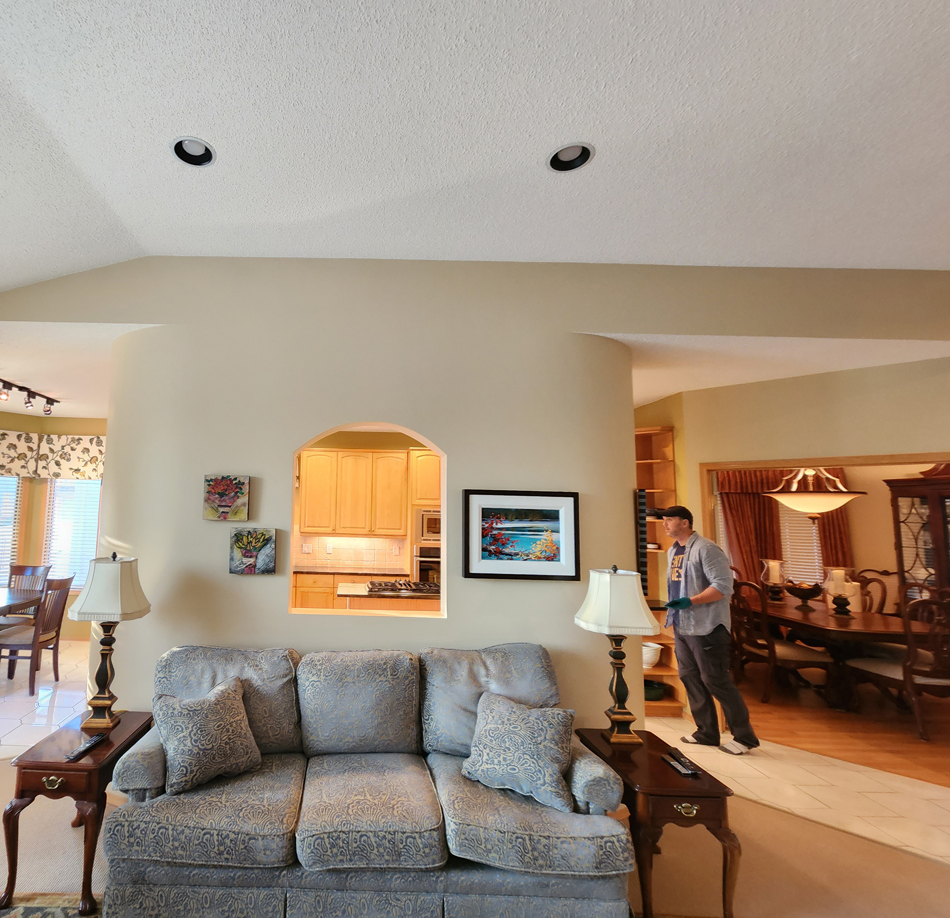
Basement renovations are one of the most powerful ways to expand your living space without building an addition. In Edmonton and surrounding areas, homeowners are increasingly transforming underutilized basements into comfortable family rooms, legal rental suites, home gyms, offices, and entertainment spaces. A finished basement not only enhances daily living but can also significantly increase property value.
However, renovating a basement is far more complex than updating a bedroom or repainting a kitchen. Below-grade spaces require strategic planning, moisture protection, insulation upgrades, code compliance, and professional execution. Before you begin tearing down walls or choosing flooring samples, there are critical considerations that will determine whether your renovation becomes a long-term success or an expensive lesson.
Start With Strategic Planning Not Demolition
Excitement often pushes homeowners to jump straight into design ideas, but successful basement renovations always begin with proper planning. Every decision you make later layout, finishes, mechanical upgrades, and budget depends on a clear roadmap from the start.
If you are unsure how to structure your renovation plan, reviewing a step-by-step guide can help you avoid costly surprises. Professional planning ensures your basement renovation aligns with your goals, budget, and long-term property value.
Define the Purpose of Your Basement
Before investing in finishes or framing walls, ask yourself a simple question: What is this space meant to become?
Basements today are no longer just storage areas. Homeowners are converting them into multi-functional living environments that serve evolving family needs. Some want an open entertainment area for gatherings. Others prefer a private guest suite. Many Edmonton homeowners are choosing legal basement suites for rental income.
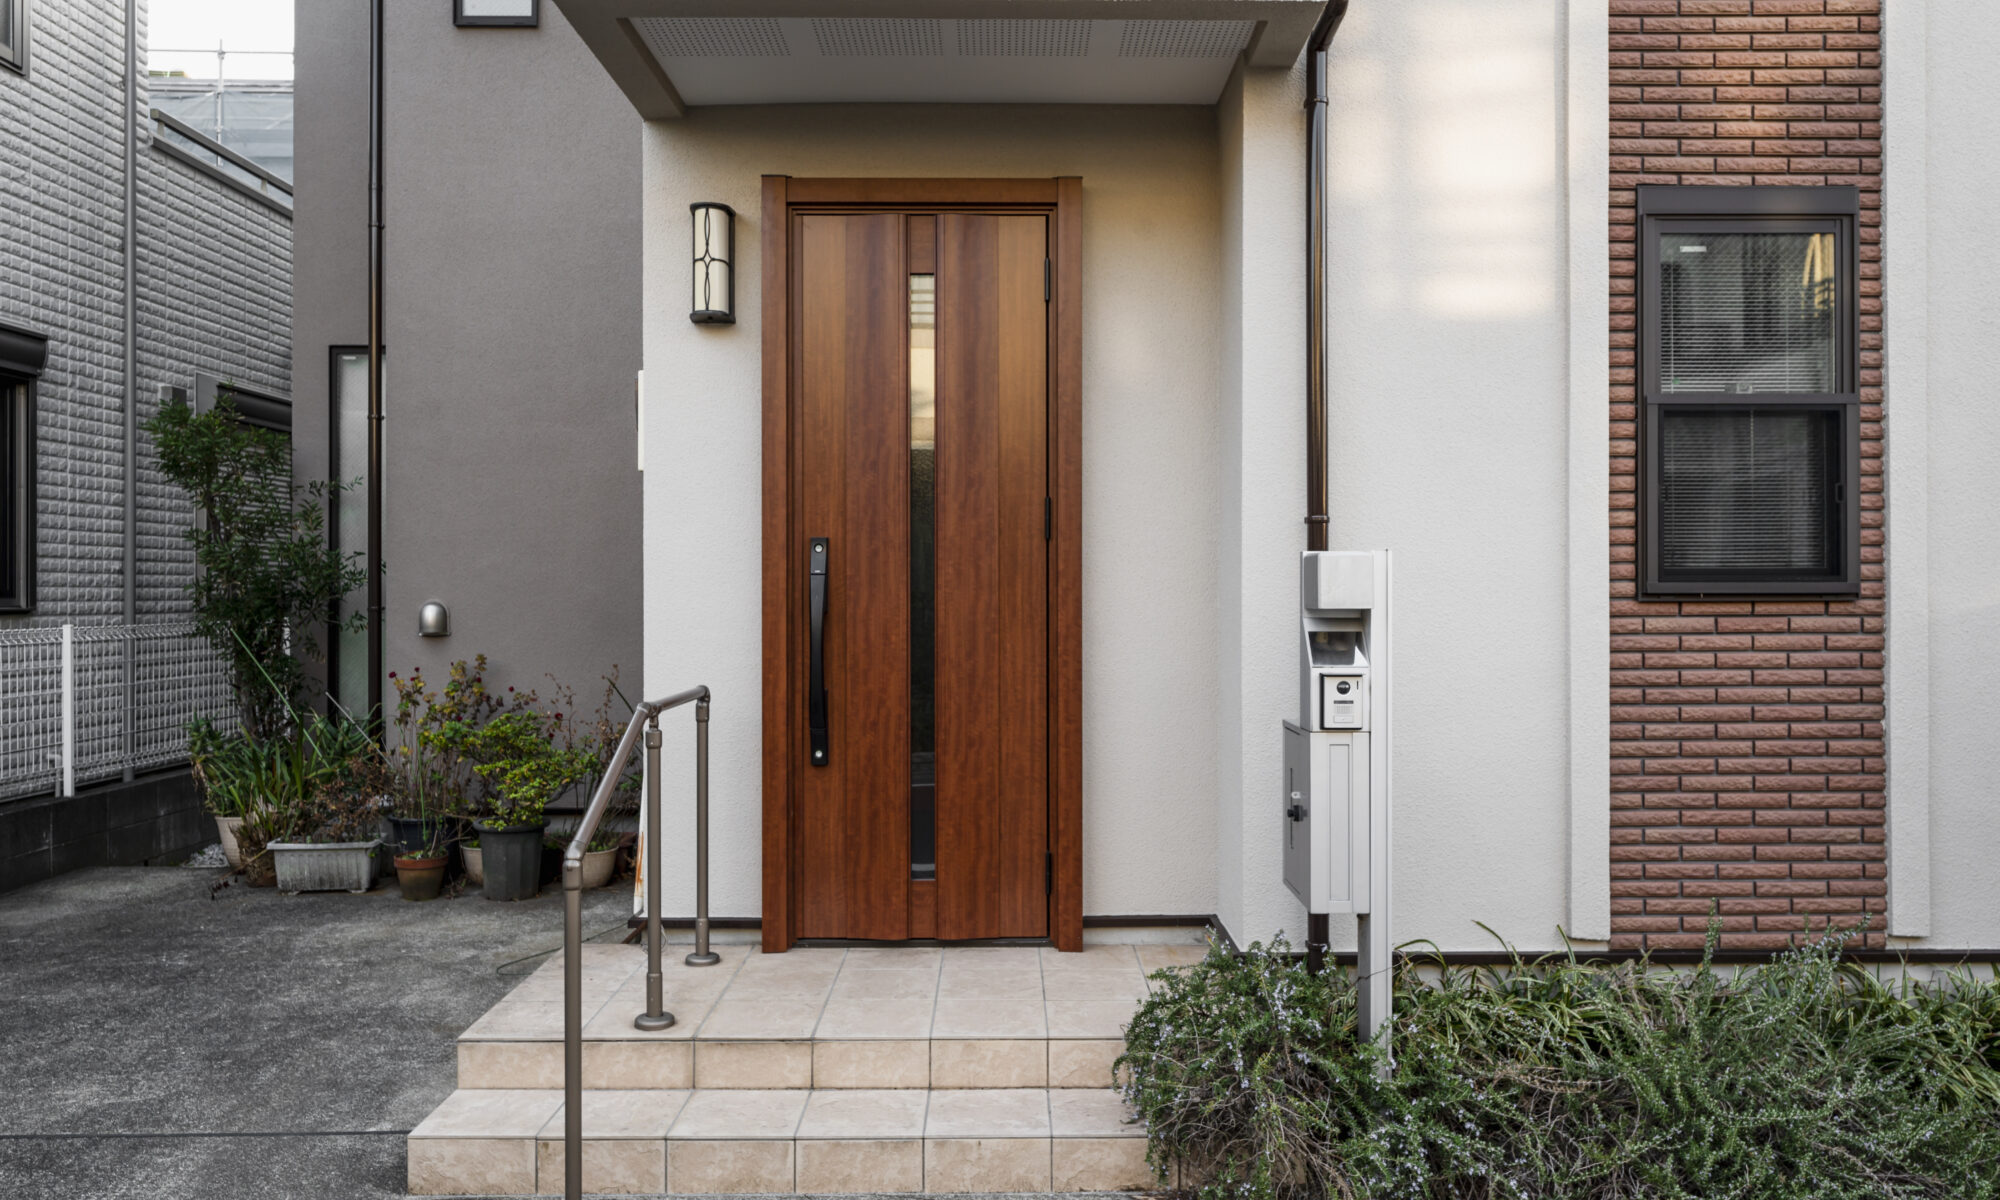
If income generation is your goal, compliance becomes a top priority. Fire separation, proper egress windows, independent heating systems, and city-approved permits are essential. For homeowners seeking flexible designs, explore ideas for creating adaptable basement spaces. The clearer your vision, the smoother your renovation process will be.
Understand Edmonton’s Permit and Code Requirements
Basement renovations are regulated projects in Edmonton. Even if you are simply adding a bedroom or bathroom, permits are often required. Skipping this step may seem like a shortcut, but it can create serious resale issues and insurance complications later.
Local building codes address everything from emergency exit windows to ceiling heights and fire-rated separations. Ensuring compliance protects your family’s safety and your property’s long-term value.
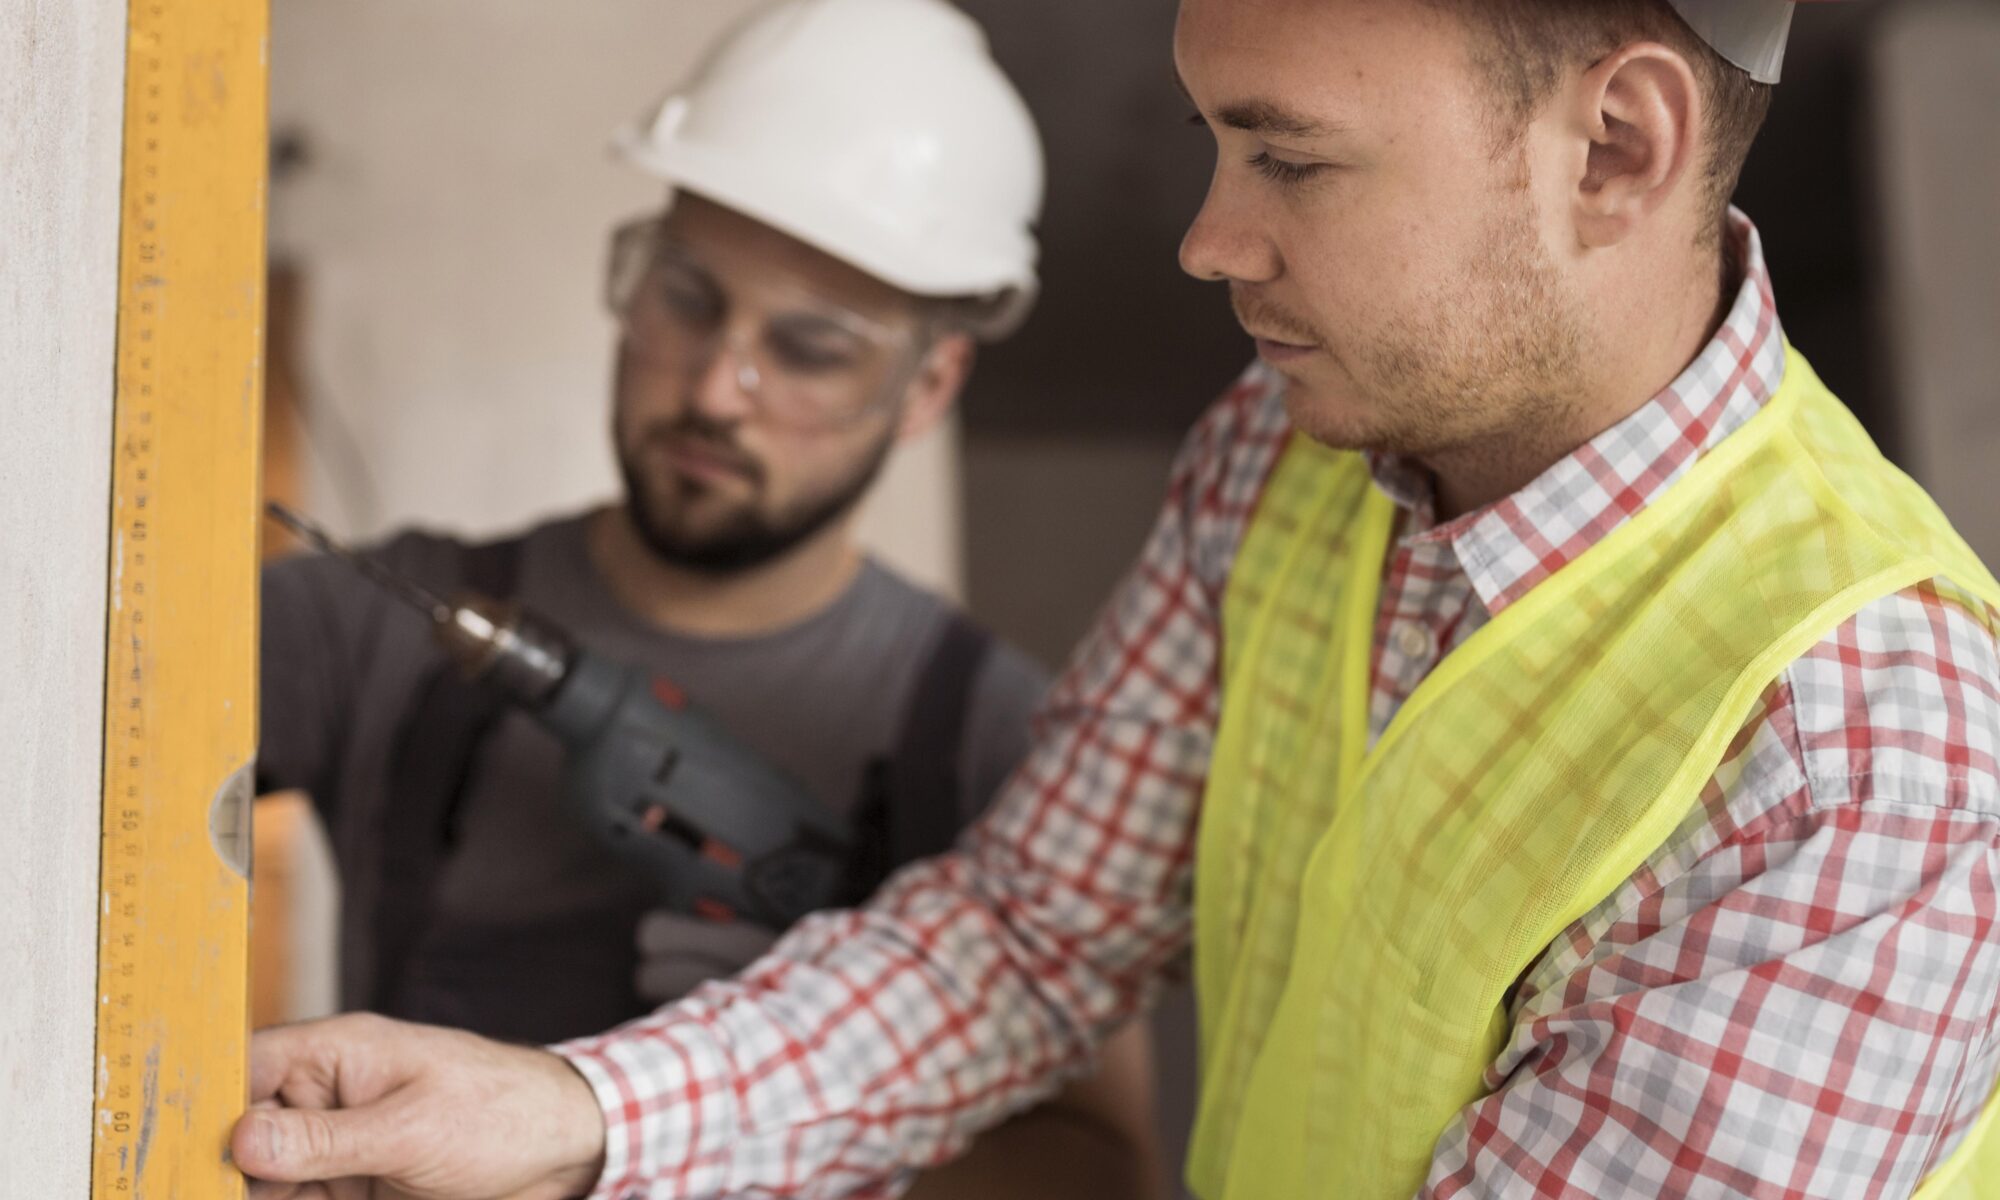
Before starting construction, take time to review permit requirements in Edmonton. Working with experienced general contractors ensures paperwork, inspections, and approvals are handled correctly from day one.
Moisture Control Is Non-Negotiable
One of the biggest mistakes homeowners make is focusing on aesthetics before addressing moisture protection. Edmonton’s climate brings freeze-thaw cycles, snowmelt, and seasonal ground shifts that can introduce moisture into below-grade spaces.
If moisture is not managed properly, it can lead to mould growth, drywall damage, warped flooring, and long-term structural issues. That’s why waterproofing, vapor barriers, proper insulation, and ventilation systems must be addressed before any finishing work begins.
Invest in Proper Insulation for Year-Round Comfort
Basements naturally stay cooler than upper levels, especially during Edmonton’s long winters. Without high-quality insulation, your finished basement may feel cold, damp, and uncomfortable defeating the purpose of expanding your living space.
Modern insulation solutions not only regulate temperature but also improve energy efficiency and reduce condensation risks. Properly insulated walls and ceilings help maintain consistent indoor temperatures while lowering heating costs.
To understand why insulation should be a renovation priority, read – Why Proper Insulation Should Be Your Next Home Renovation Priority?
Design the Layout for Flow and Function
Basement layouts require thoughtful design. Unlike upper floors with abundant natural light, basements can feel confined if not carefully planned. Strategic layouts maximize brightness, improve traffic flow, and create defined zones without sacrificing openness.
Some homeowners prefer an open-concept recreation space, while others opt for private rooms and sound-controlled areas. The right layout depends on how you plan to use the space now and how it might need to evolve in the future.
Choose Basement-Friendly Flooring
Flooring selection plays a major role in both durability and design. Because basements are closer to ground moisture, materials must be resistant to temperature shifts and humidity.
Luxury vinyl plank, moisture-rated laminate, tile, and polished concrete are among the most popular choices in Edmonton homes. Each offers unique benefits depending on your style preferences and usage goals.
Drywall Installation Requires Precision
Basement drywall must be installed correctly to prevent cracking, mould growth, and poor finishing results. Vapor barriers, framing alignment, and proper taping techniques are critical to achieving smooth, durable walls.
If drywall is improperly installed, repairs can be costly and frustrating. To understand why professional taping matters, read – Why It’s Essential for a Smooth Finish?
Budget Realistically and Plan for Contingencies
Basement renovations vary significantly in cost depending on size, complexity, materials, plumbing additions, and electrical upgrades. Many homeowners underestimate the true investment required, leading to stress mid-project.
Building a realistic budget with contingency allowances protects you from unexpected expenses. If you want to avoid financial pitfalls, review- Biggest Home Renovation Mistakes Alberta Homeowners Should Avoid.
Prioritize Soundproofing
If your basement will include a rental suite, theatre room, music studio, or workout area, soundproofing becomes essential. Noise transfer between floors can impact comfort and tenant satisfaction.
Advanced drywall systems and insulation upgrades significantly improve acoustic control. Learn more about soundproofing techniques here: The Science Behind Soundproof Drywall.
Final Thoughts
Starting a basement renovation is an exciting opportunity to expand your living space and increase home value. But success depends on preparation, planning, and professional execution.
From moisture management and insulation to permits, layout design, flooring, drywall and taping installation, and soundproofing, every element must work together to create a comfortable and durable finished space. When done right, a renovated basement becomes more than extra square footage it becomes a seamless extension of your home. If you’re ready to begin your basement renovation journey, trust a team that understands Edmonton’s climate, building codes, and construction standards. Contact Bakir Contracting today!
FAQs
1. Why should I renovate my basement?
A. Basement renovation adds functional living space, increases property value, and improves overall comfort. Whether you’re planning a family room, home office, gym, or rental suite, finishing your basement makes better use of unused square footage.
2. Do I need permits for a basement renovation?
A. Yes, most basement renovations require permits—especially if you’re adding plumbing, electrical work, structural changes, or a legal secondary suite. Proper permits ensure the work meets local building codes and protects your investment.
3. How long does a basement renovation usually take?
A. The timeline depends on the size and scope of the project. A standard basement renovation can take anywhere from 4 to 8 weeks, while more complex layouts or legal suite conversions may take longer due to inspections and approvals.
4. How much does a basement renovation cost?
A. Costs vary depending on finishes, layout changes, and added features like bathrooms or kitchens. Basic renovations are more budget-friendly, while custom designs or rental suites require a larger investment. A detailed consultation helps determine accurate pricing.
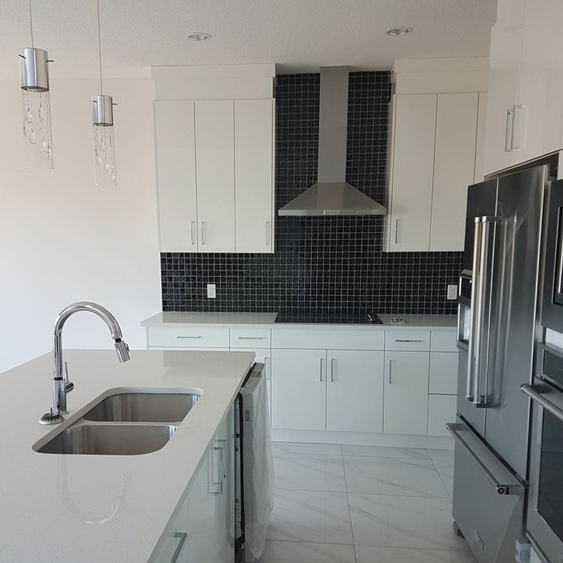
5. Can I add a bathroom to my basement?
A. Yes, adding a bathroom is a popular upgrade that increases functionality and resale value. Plumbing requirements and layout planning are key factors, so it’s important to work with experienced contractors.
6. Is it possible to create a legal basement suite?
A. Yes, but specific building codes must be met, including proper egress windows, fire separation, and separate entrances where required. A professional contractor can guide you through the legal requirements and approval process.
7. Will a basement renovation increase my home’s resale value?
A. Absolutely. A finished basement adds livable square footage, which is attractive to buyers. Features like additional bedrooms, bathrooms, or rental income potential can significantly boost market value.
8. What type of flooring works best in a basement?
A. Moisture-resistant flooring options like vinyl plank, engineered hardwood, or tile are commonly recommended. The right choice depends on how you plan to use the space and your design preferences.
9. Can I customize the basement layout?
Yes, basements offer flexibility for open-concept designs, divided rooms, or multifunctional spaces. A well-planned layout ensures the space feels bright, comfortable, and practical.
10. Should I hire a professional contractor for basement renovations?
A. Hiring a professional ensures proper planning, code compliance, quality workmanship, and efficient project management. This reduces costly mistakes and ensures the renovation is completed safely and to a high standard.